> For the complete documentation index, see [llms.txt](https://docs.rewst.help/llms.txt). Markdown versions of documentation pages are available by appending `.md` to page URLs; this page is available as [Markdown](https://docs.rewst.help/documentation/crates/existing-crate-documentation/agent-smith-track-agent-inventory-in-azure-tables-crate.md).
# Agent Smith: Track Agent Inventory in Azure Tables Crate
{% hint style="info" %}
If you’re new to Crates, read through our introductory Crate documentation [here](https://docs.rewst.help/prebuilt-automations/crates). Find the Crate in our Crate Marketplace.
{% endhint %}
## What does the Agent Smith: Track Agent Inventory in Azure Tables Crate do?
Our Agent Smith: Track Agent Inventory in Azure Tables Crate is an add-on component for Agent Smith deployments that provides enhanced inventory tracking capabilities by performing data collection from devices that run Agent Smith. On an interval, computers will collect information about themselves and post that to be stored within an Azure Tables database.
### How the Crate works
* Extends the basic Agent Smith setup to use Azure Tables as a storage backend
* Configured to run periodic data collection tasks
* Task Scheduler also monitors the Agent Smith service status
This workflow is kicked off through the following process:
1. Crate installation and unpacking
2. Automatic activation of scheduled tasks and service monitoring
## Crate prerequisites
Install and deploy the following before unpacking the Crate:
* [Microsoft Cloud Integration Bundle](/documentation/integrations/integration-guides/microsoft-cloud-integration-bundle.md)
* [Agent Smith](/documentation/agent-smith.md) command executor
## Unpack the Agent Smith: Track Agent Inventory in Azure Tables Crate
1. Navigate to **Marketplace** **> Crates** in the left side menu Rewst platform.
2. Search for `Agent Smith: Track Agent Inventory in Azure Tables Crate`.
\

3. Click on the Crate tile to begin unpacking.
4. Click **Unpack Crate**.
5. Click **Continue**.
6. Enter **Time Saved** under **Crate Configuration**.
7. Ensure that **Enabled** is toggled on for both **Cron Job** and **Webhook** accordion menus under **Configure Triggers**. Note that you have the option in both **Cron Job** and **Webhook** to activate the Crate for all future organizations in addition to the current one. You may also set activation to certain [tags](/documentation/settings/tags-in-rewst.md), and set [trigger criteria](/documentation/automations/intro-to-triggers/trigger-criteria.md) or [integration overrides](/documentation/automations/intro-to-triggers.md).
8. Click **Unpack**.
### Test the Crate
1. Navigate to **Automations > Workflows** in the left side menu of your Rewst platform.
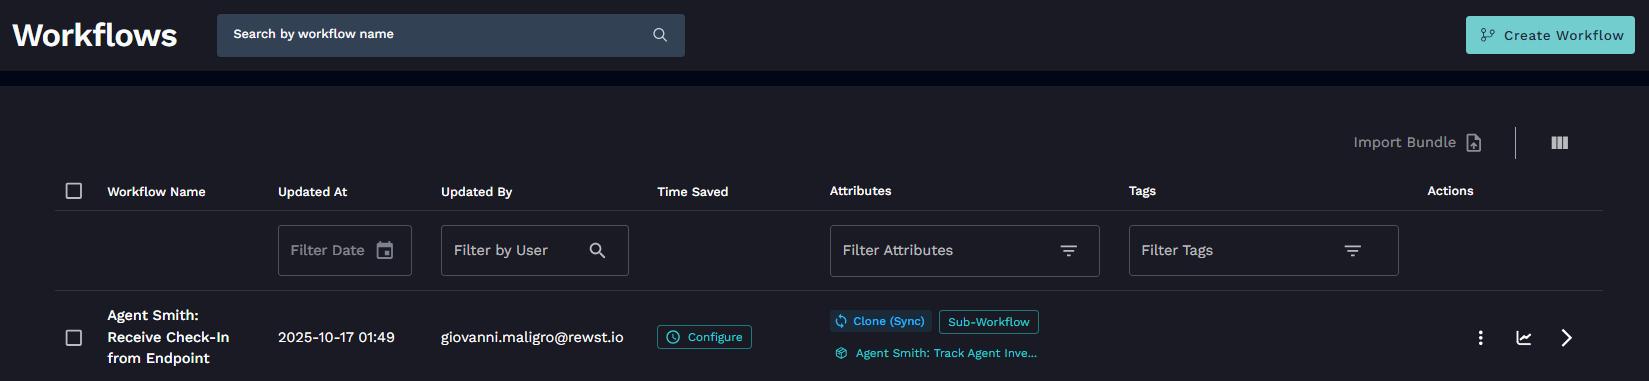
2. Search for `Agent Smith: Receive Check-In from Endpoint`.
3. Click on the workflow to view it in the Workflow Builder.
4. Click **Test** in the top right corner of the Workflow Builder Canvas.
5. On the `body_stringified` field, you can enter the following:
**For HTTP/API actions**
* JSON data - If the workflow expects a JSON input, enter a valid JSON format.
`json { "test": "Hello, World!", "user_id": "12345", "action": "create_user" }`
**For webhook testing**
* Request body data - This is the actual payload that would be sent to the webhook.
`json { "event_type": "user_created", "data": { "name": "John Doe", "email": "{EMAIL}" } }`
**For general workflow input variables**
* Static test data - These should be values that match the expected input variable types defined in your workflow.
* String values - Enter plain text if the field requires a string.
* Structured data - These should be JSON objects if the workflow processes complex data structures.
Note that the test data you enter will be accessible in your workflow as context variables (For example, `{{ CTX.body.field_name }}` for JSON data or `{{ CTX.input_variable_name }}` for input variables).
6. Click **Test**.
7. Allow the workflow to run.
8. You'll see a green success message at the top of your screen if the execution is successful. You'll see a red failure message if the execution fails. Click **View Results** for a more detailed breakdown of each.
## Organization variables associated with this Crate
{% hint style="info" %}
For more on organization variables and how to use them, see our org variable documentation [here](https://docs.rewst.help/documentation/configuration/organization-variables).
Organization variables not found in our standard organization variables documentation, such as the ones listed below. are typically system variables that are handled by integration mappings.
If you haven't done so already, we recommended that you run the [Configure Organization Variables Crate](https://docs.rewst.help/documentation/crates/existing-crate-documentation/configure-organization-variables), which will help you set org variables that are relevant to you and your customer's environments.
{% endhint %}
The following variables would be used for Azure IoT Hub integration and device management workflows:
`azure_iothub_subscription_id`
`azure_iothub_resource_group`
`azure_iothub_name`
{% hint style="info" %}
Got an idea for a new Crate? Rewst is constantly adding new Crates to our Crate Marketplace. Submit your idea or upvote existing ideas here in our [Canny feedback collector](https://rewst.canny.io/crates).
{% endhint %}
---
# Agent Instructions
This documentation is published with GitBook. GitBook is the documentation platform designed so that both humans and AI agents can read, navigate, and reason over technical content effectively. Learn more at gitbook.com.
## Querying This Documentation
If you need additional information that is not directly available in this page, you can query the documentation by asking a question.
Perform an HTTP GET request on the following URL with the `ask` and `goal` query parameters:
```
GET https://docs.rewst.help/documentation/crates/existing-crate-documentation/agent-smith-track-agent-inventory-in-azure-tables-crate.md?ask=&goal=
```
`ask` is the immediate question: it should be specific, self-contained, and written in natural language.
`goal` is what the user is ultimately trying to achieve, the reason they need the answer. Sharing it helps GitBook give you a better, more relevant answer. A goal is most helpful when it describes the outcome the user wants rather than restating the question. For example, with `ask=how do I create an API token`, a goal like `automate deployments from our CI pipeline` lets GitBook tailor the answer to that use case.
The response will contain a direct answer to the question and relevant excerpts and sources from the documentation.
Use this mechanism when the answer is not explicitly present in the current page, you need clarification or additional context, or you want to retrieve related documentation sections.