# Custom integrations: V1
{% hint style="info" %}
Note that this is V1 of our custom integrations feature. Customers who have installed V2 of custom integrations or newer customers who only need documentation for our newer V2 of custom integrations may find that setup documentation [here](https://docs.rewst.help/documentation/integrations/custom-integrations/custom-integrations-v2). V1 of custom integrations is deprecated and should no longer be used. Documentation for V1 remains to assist existing customers with the migration to the V2 method. If you have questions about migrating from V1 to V2, please reach out to [ROC support](https://docs.rewst.help/~/revisions/VmxzEdeNWvX54TqYxxOB/support-and-community/roc-support).
{% endhint %}
This guide provides an overview of how to configure custom integrations within our platform. Custom integrations allow you to connect with a wide range of REST APIs that are not currently supported by our official integration offerings.
To enable the `Custom Integrations` feature for your organization, follow these steps:
1. Click on the `Settings` option in the left-hand side navigation bar.
2. Select `Feature Preview` in the expanded menu.
3. Select `Custom Integrations` the resulting page.
4. Click the `Enable` button in the top right corner of the panel.
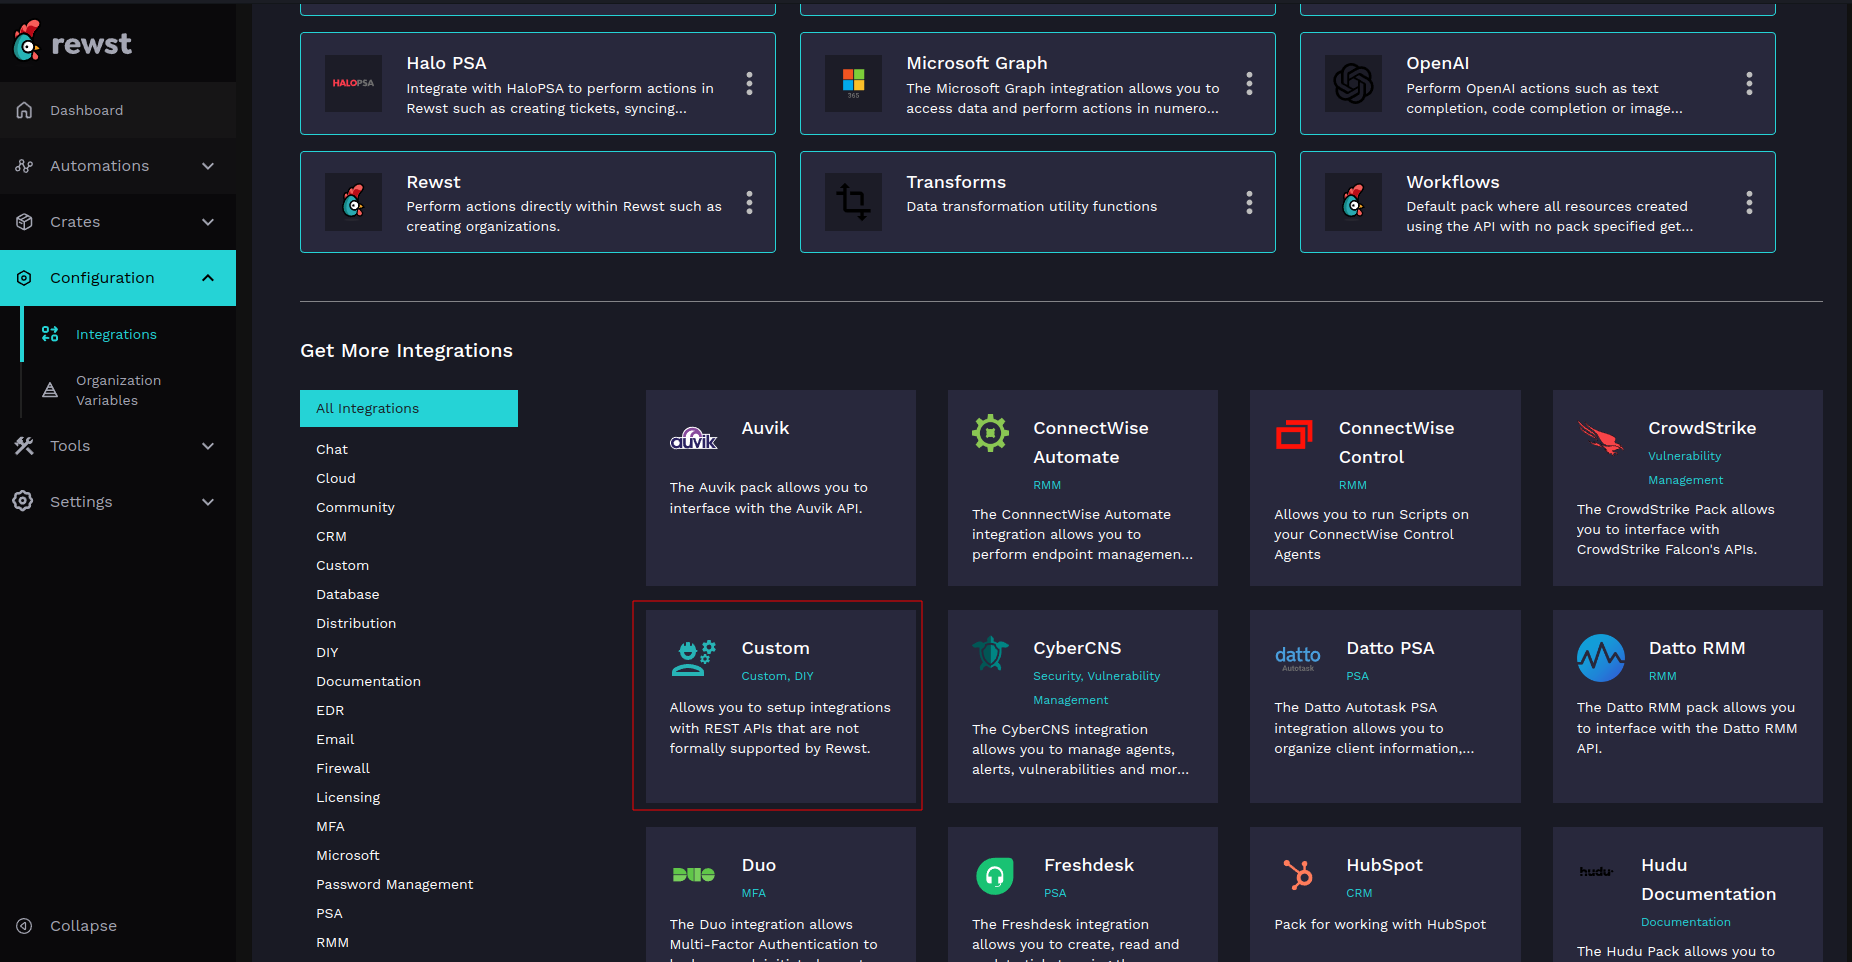
After these steps, the `Custom` integration will be available for installation.
### Installation
Start by installing the `Custom` integration. This integration leverages the features of Integration Multi-tenancy to support configuring many different integrations.
### Configuration Steps
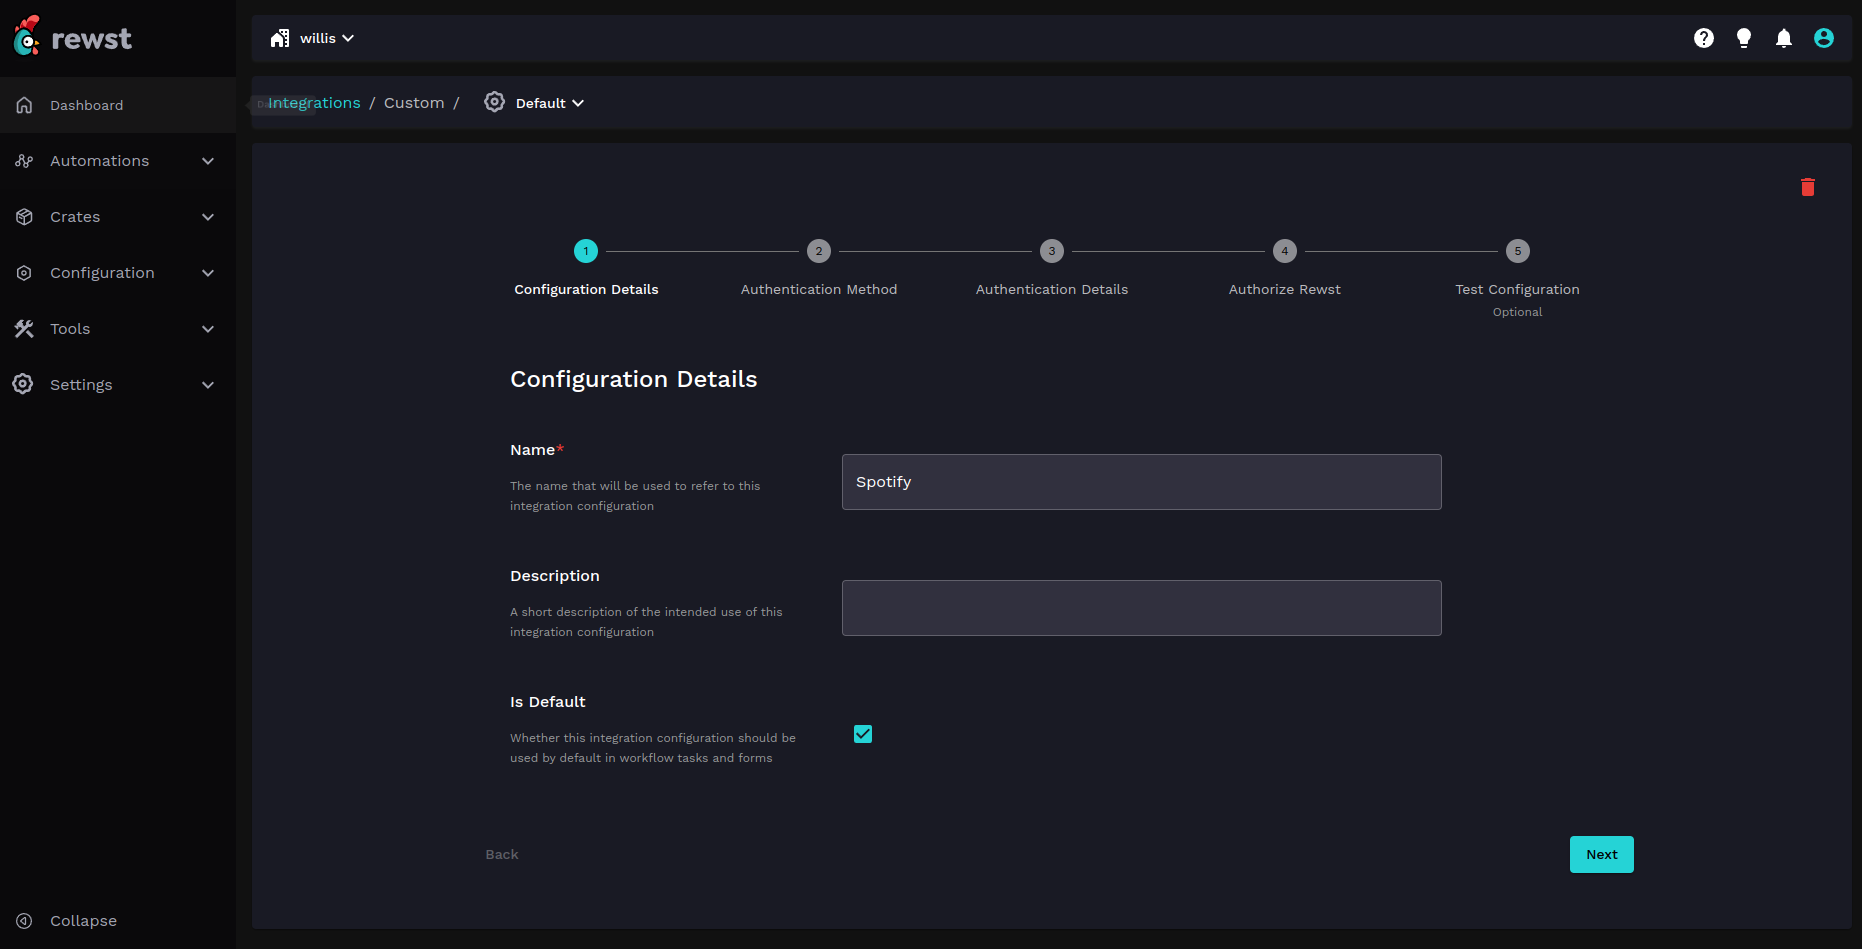
#### Step 1: Name your integration
Choose a name for your integration. Note that you cannot use the name `Default` for this purpose. We recommend naming configurations after the product you're integrating with.
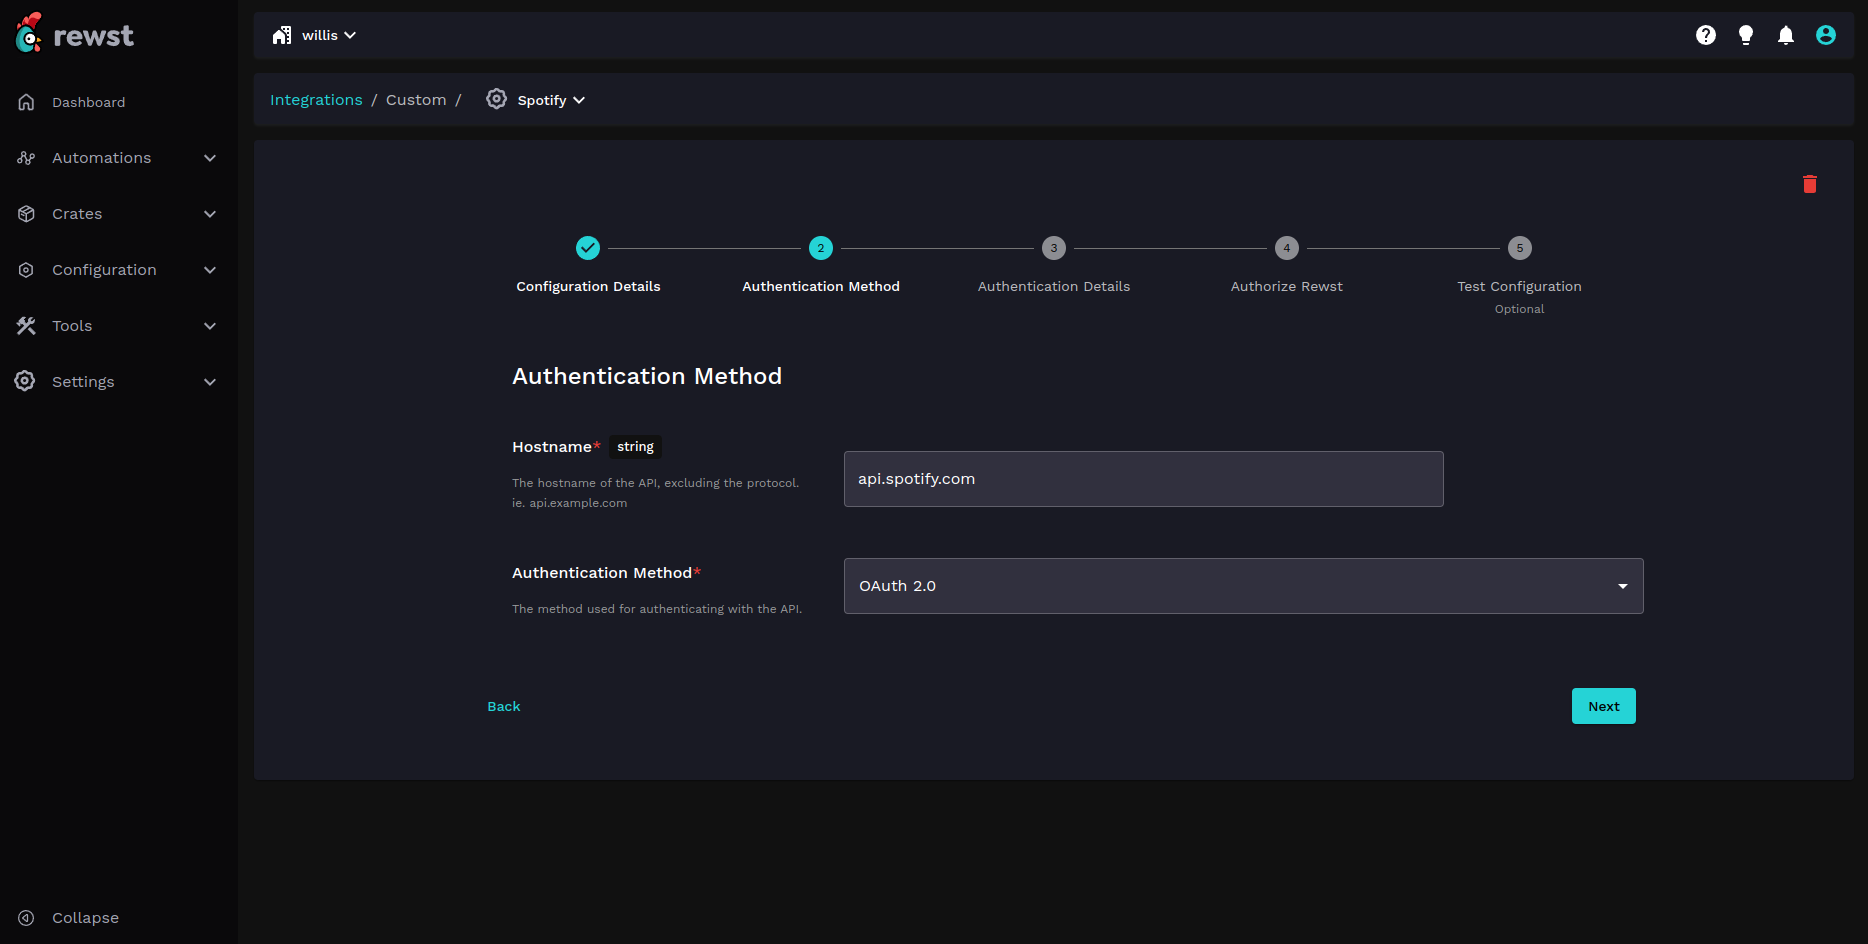
#### Step 2: API Hostname and authentication method
Enter the hostname to be used as the base URL for API requests and select the authentication method from a drop-down of supported options.
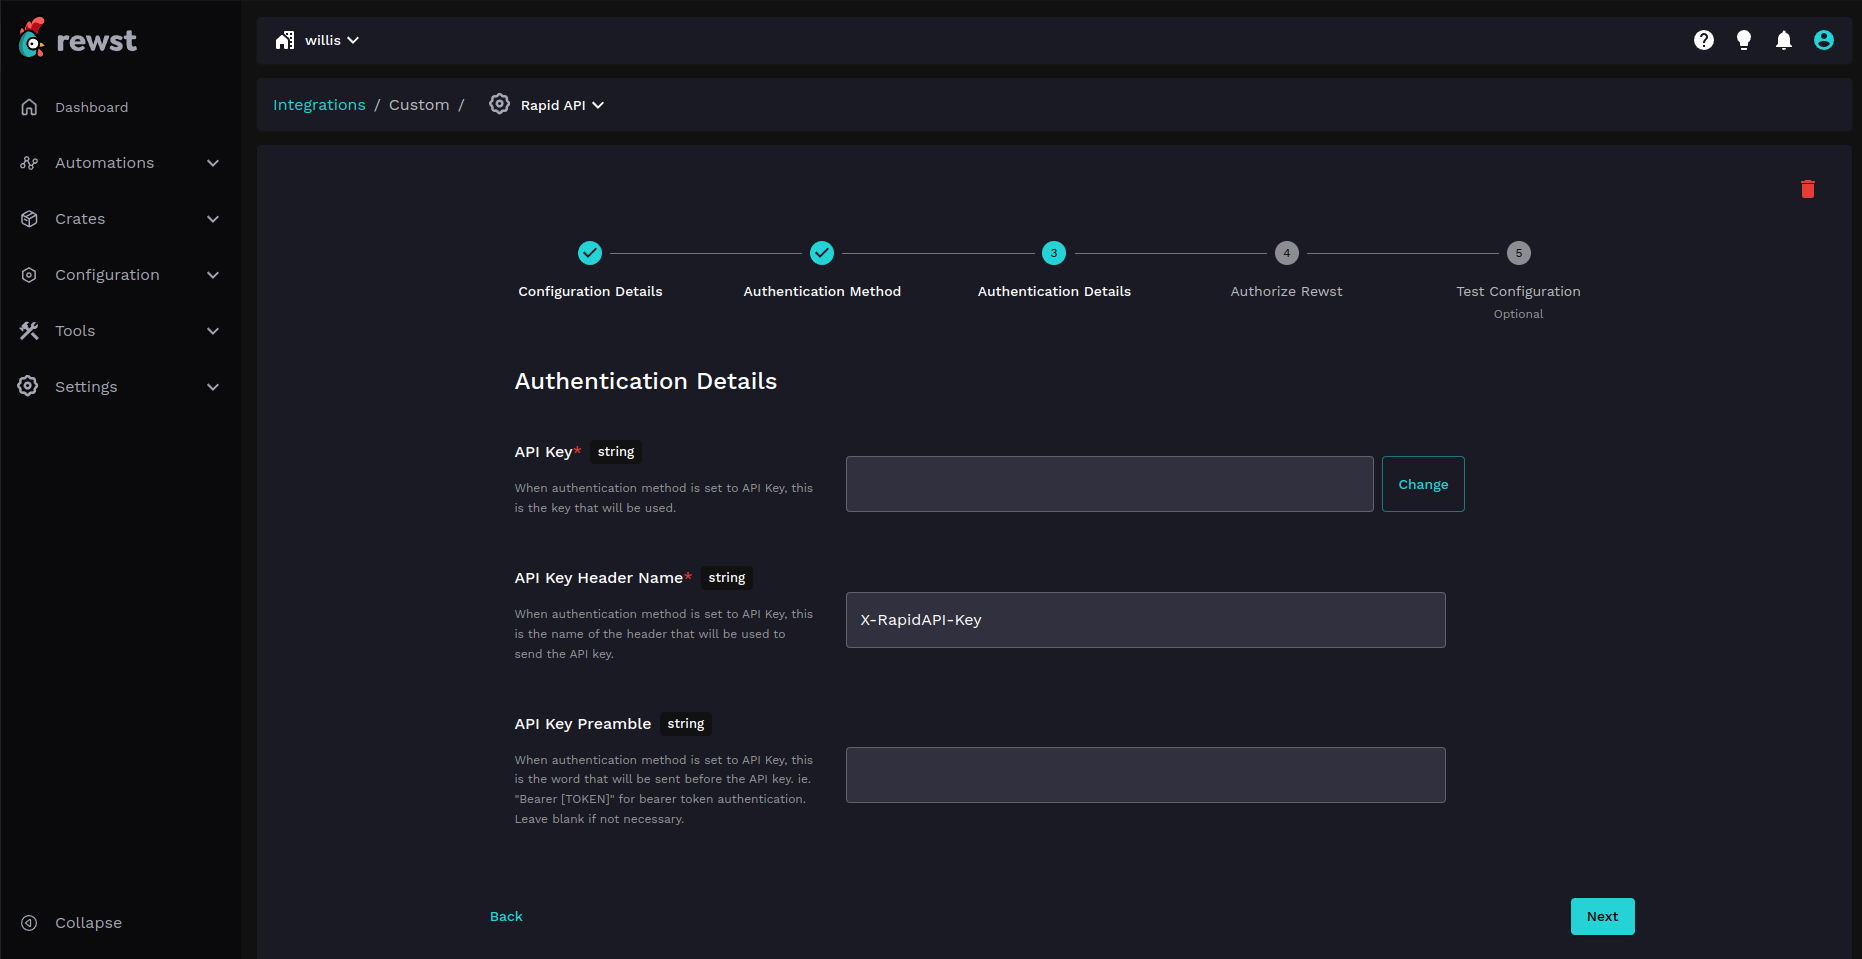
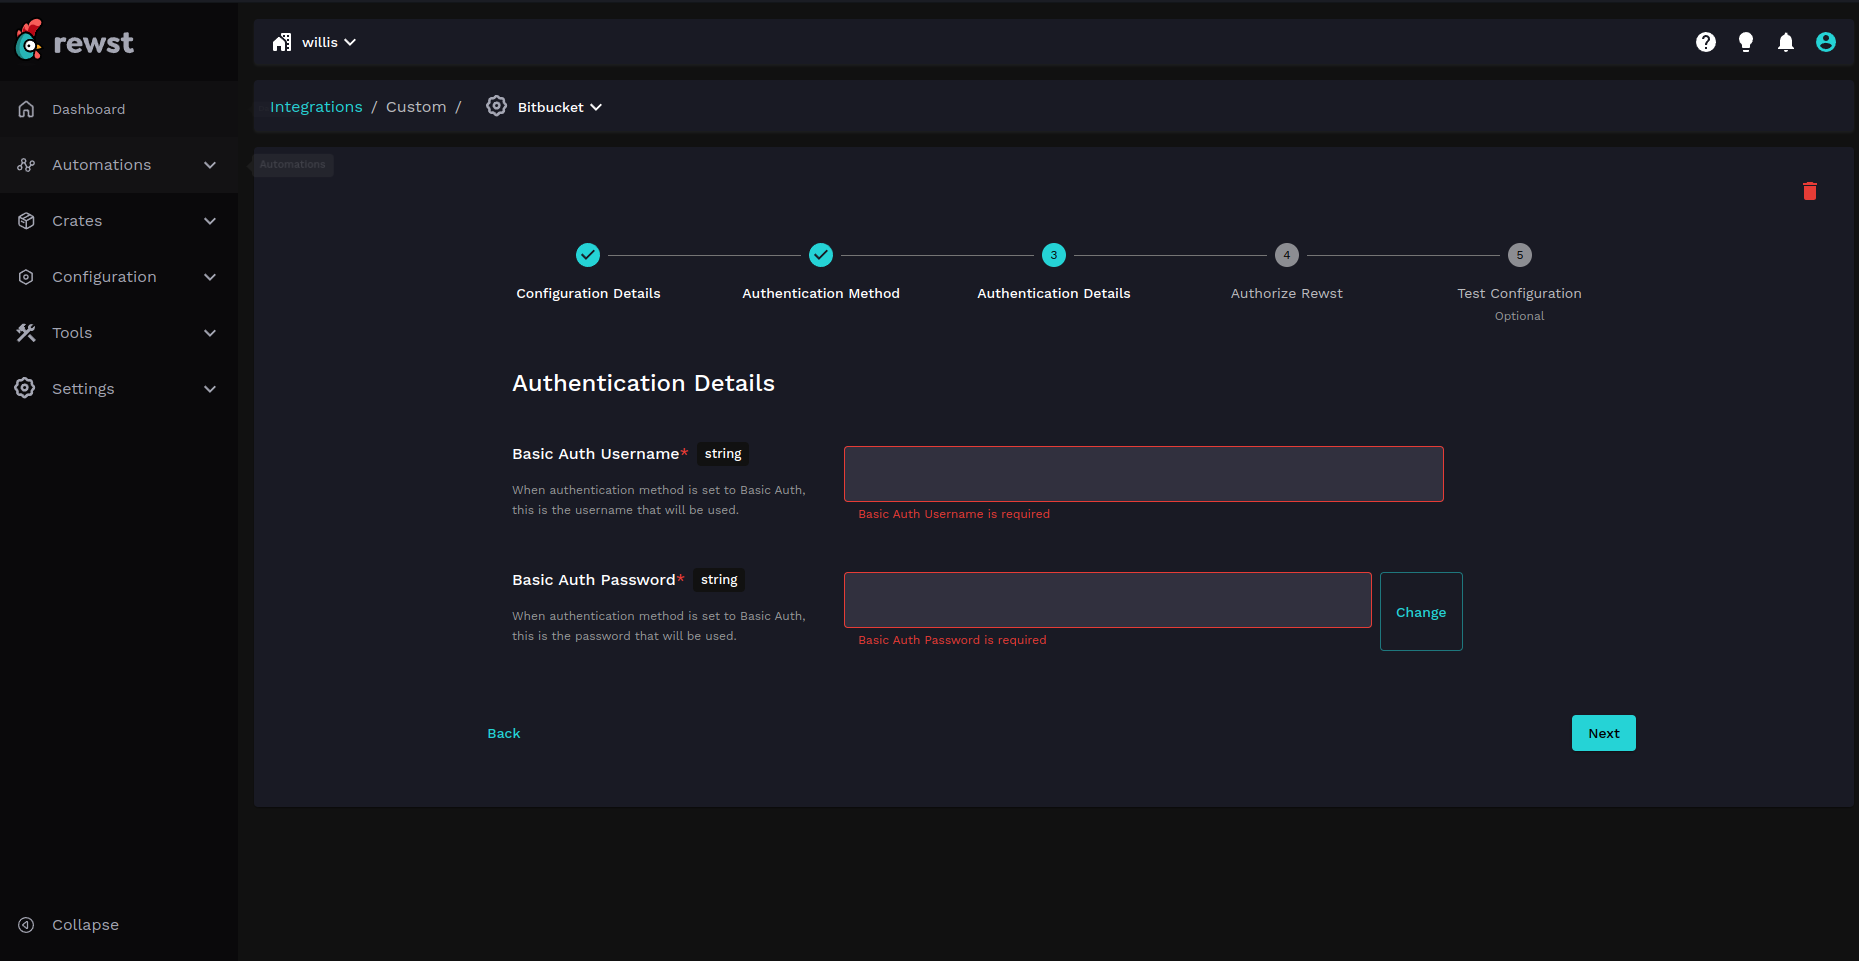
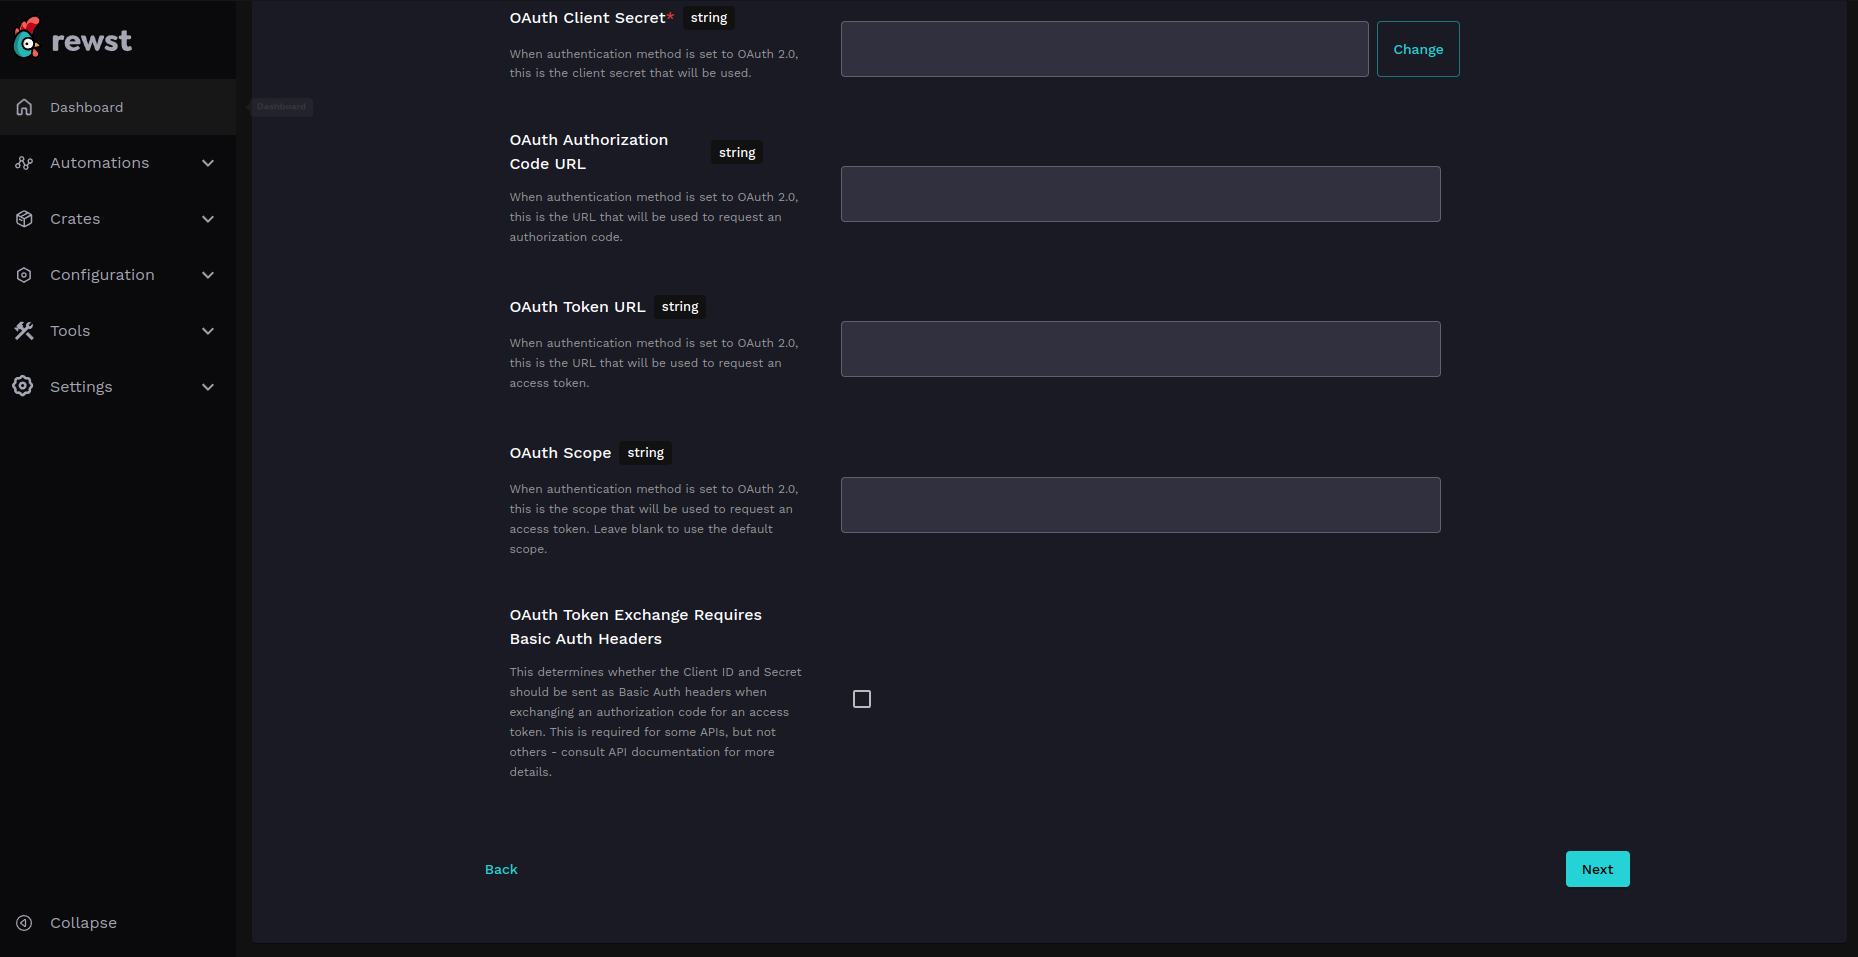
#### Step 3: Authentication details
Enter the authentication details relevant to the selected authentication method.
**API Key**
**Basic authentication**
**OAuth 2.0**
This authentication method requires setting up an OAuth client within your account with the relevant service provider. Please see vendor documentation for specific details on how to get the required information. For example, to integrate with Spotify you would need to follow the documentation [here](https://developer.spotify.com/documentation/web-api/tutorials/getting-started) and set up a Spotify App.
Ensure that when prompted for a Redirect URI you use the following value: `https://engine.rewst.io/integrations/custom/callback`.
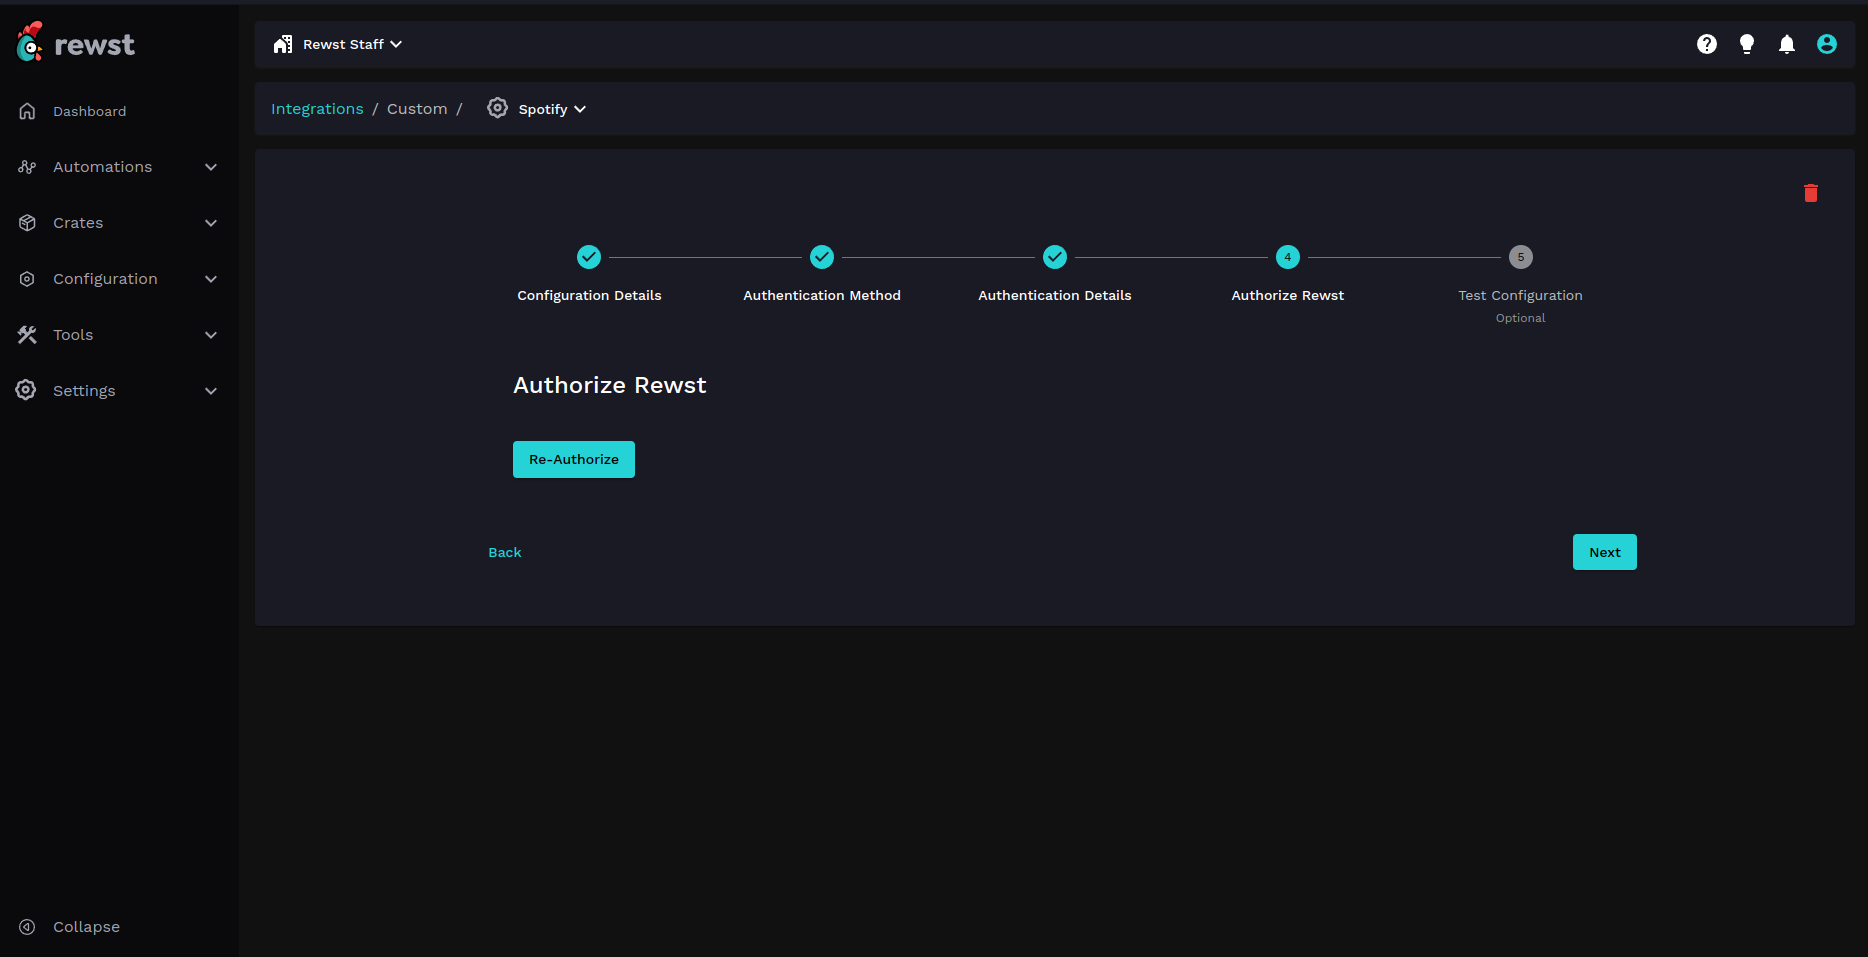
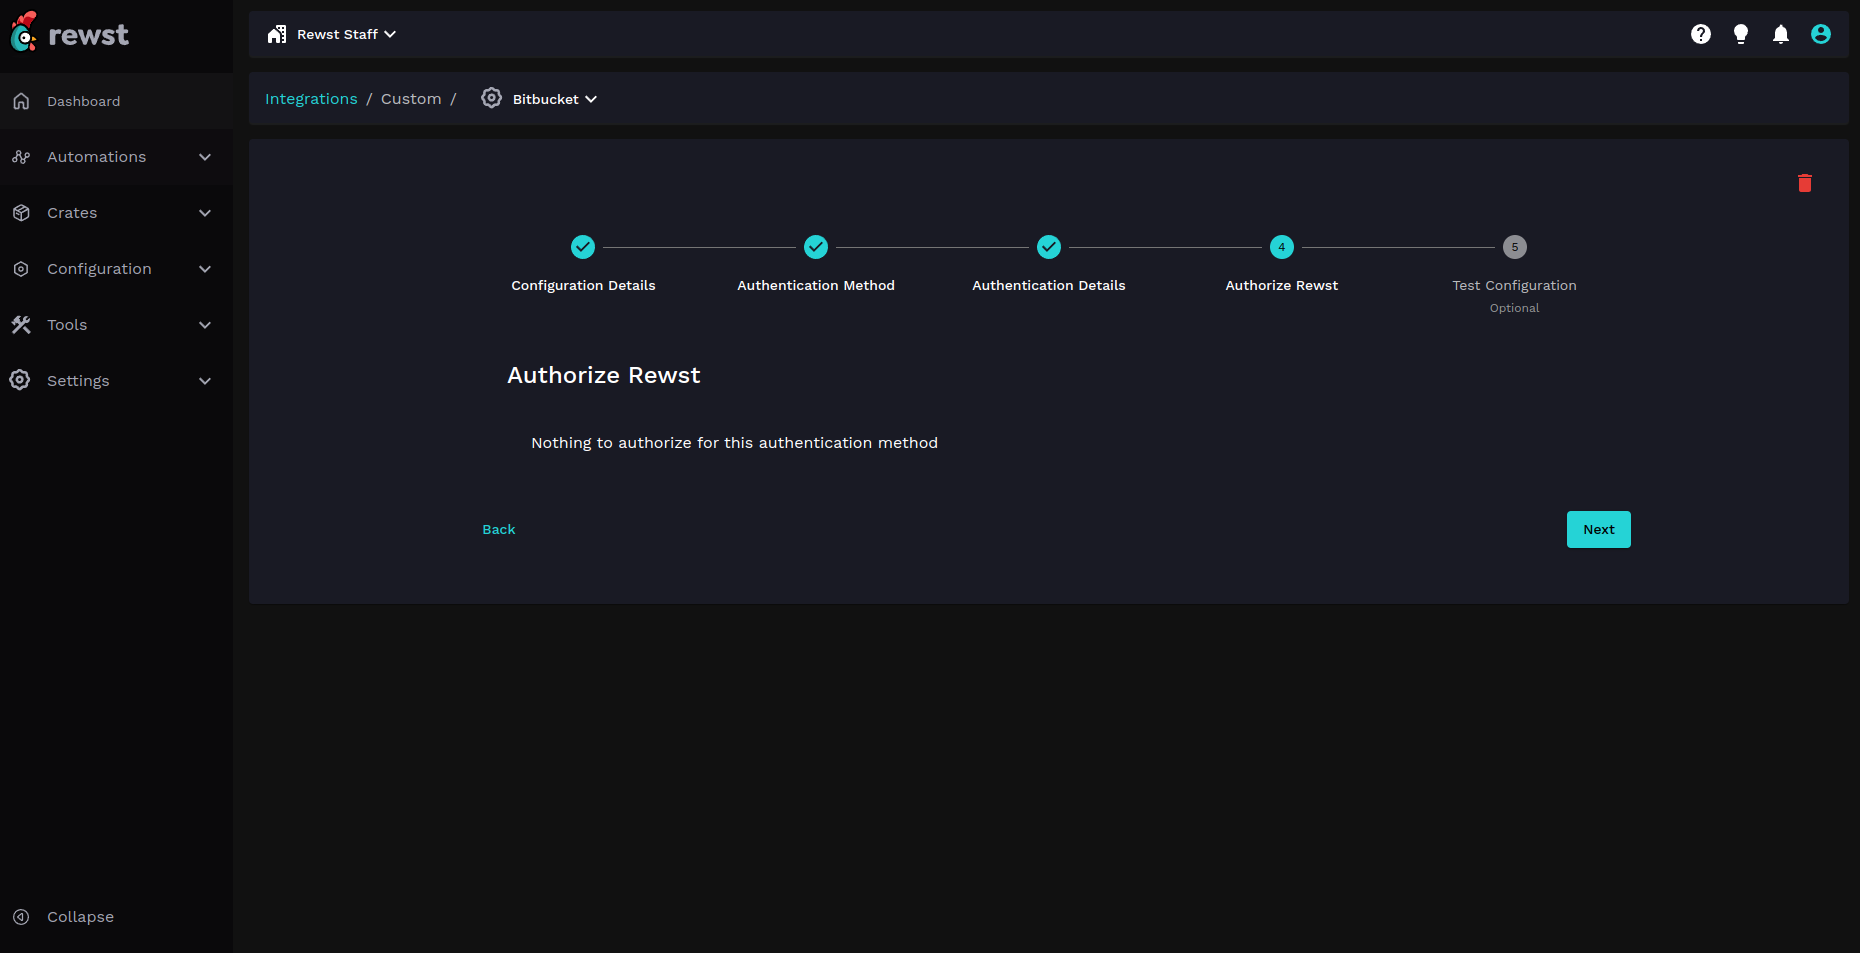
#### Step 4: OAuth authorization code
This step is only used when the selected authentication method is `OAuth 2.0` and the selected grant type is `Authorization Code`. An `Authorize` button will be displayed, which works similarly to the rest of our integration authorization buttons.
In this case, the page will look like this:
Otherwise, you will see this page, and no action is needed for this step:
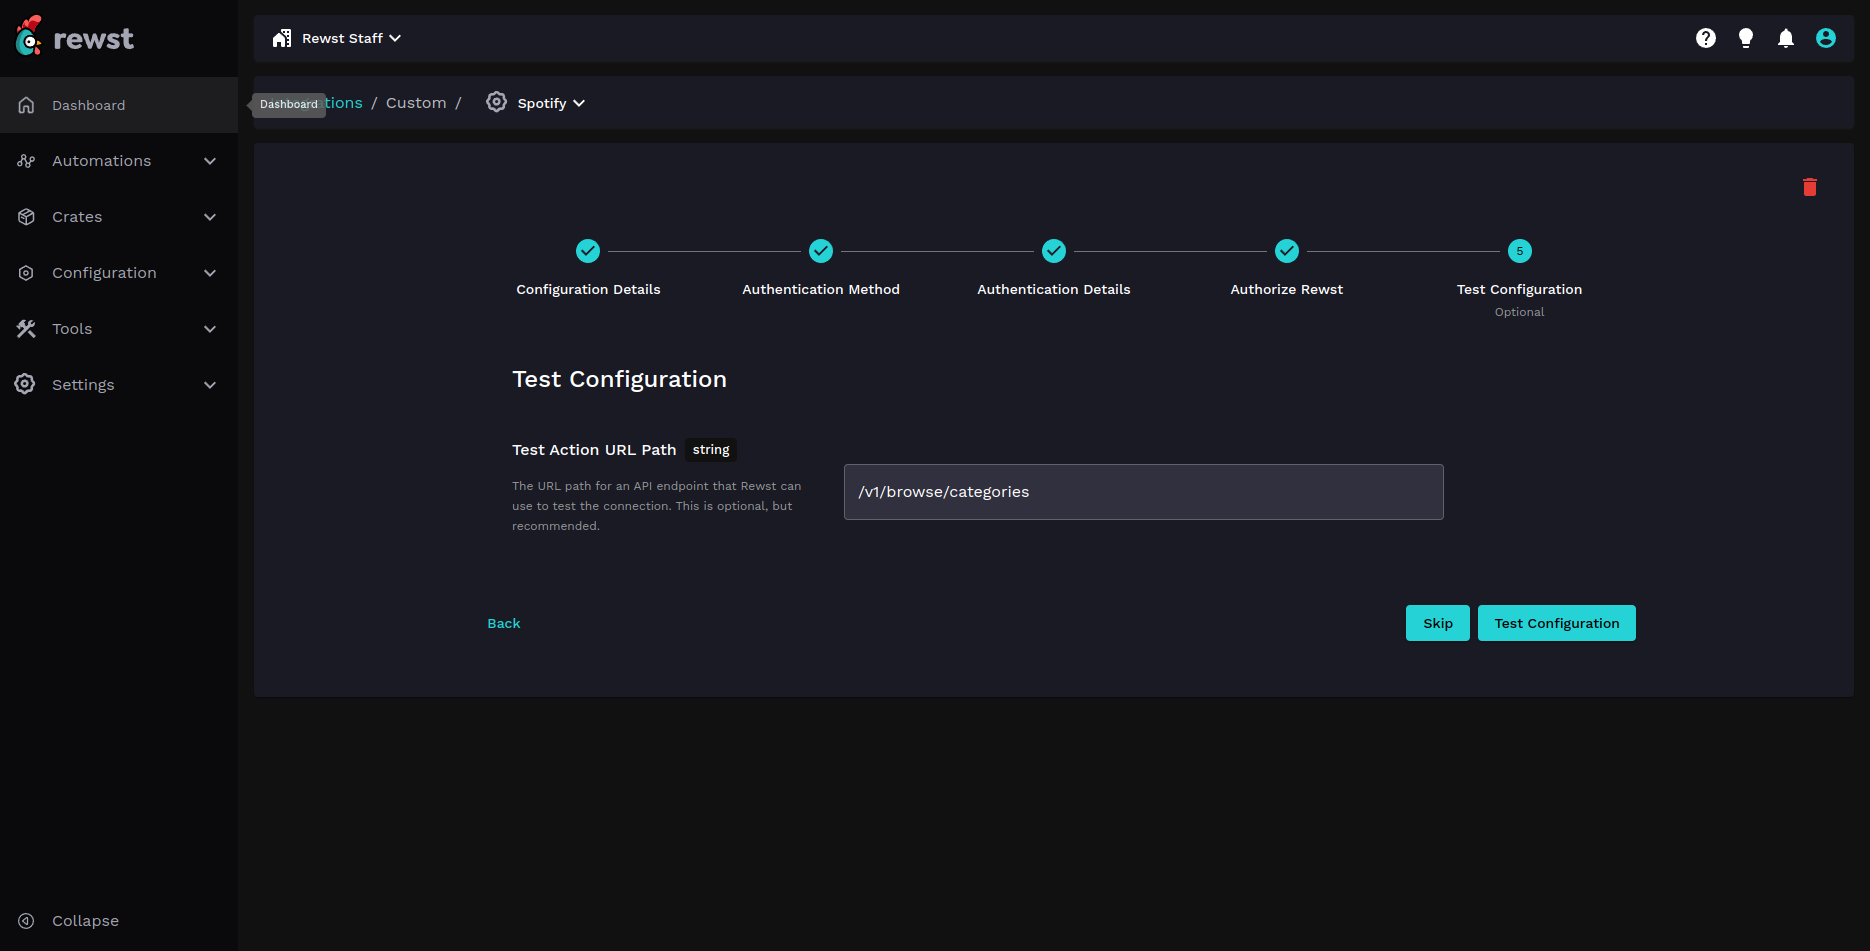
#### Step 5: Configuration test
This is an optional step to ensure that the integration configuration was successful and the API can be reached.
To test the configuration, enter the URL path for an endpoint that we can send a GET request to in order to validate that a 200 response code is returned.
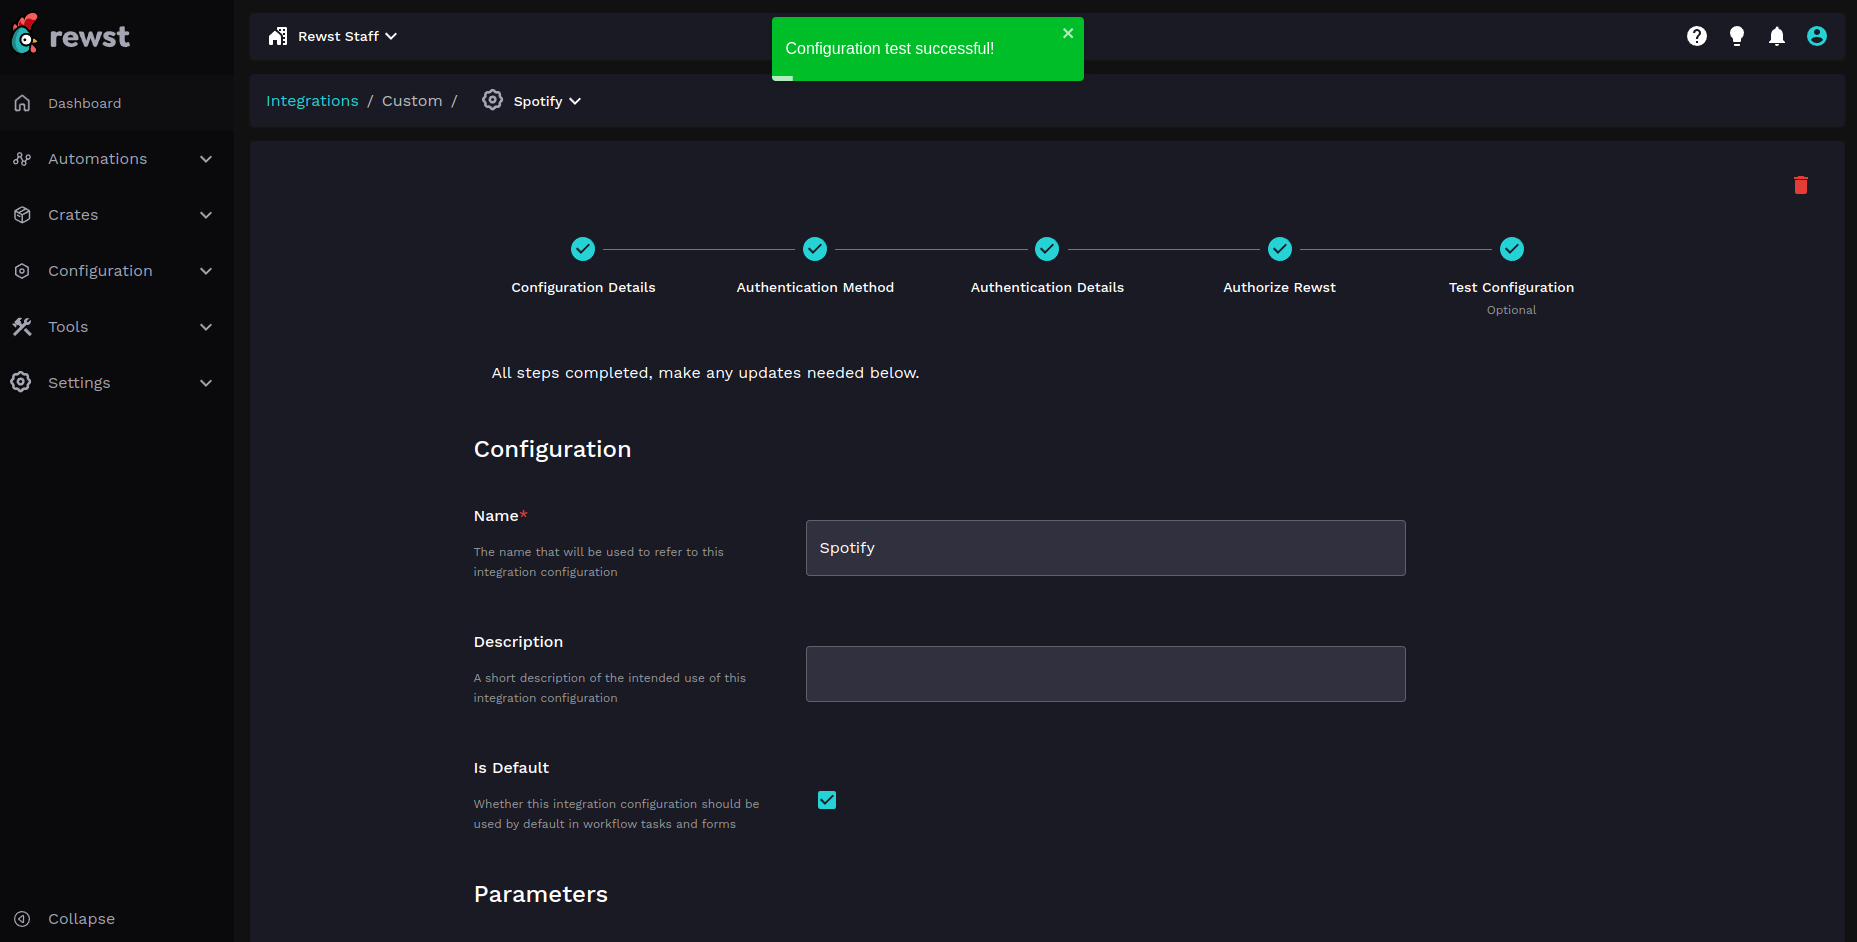
If the connection attempt was successful you will see the following:
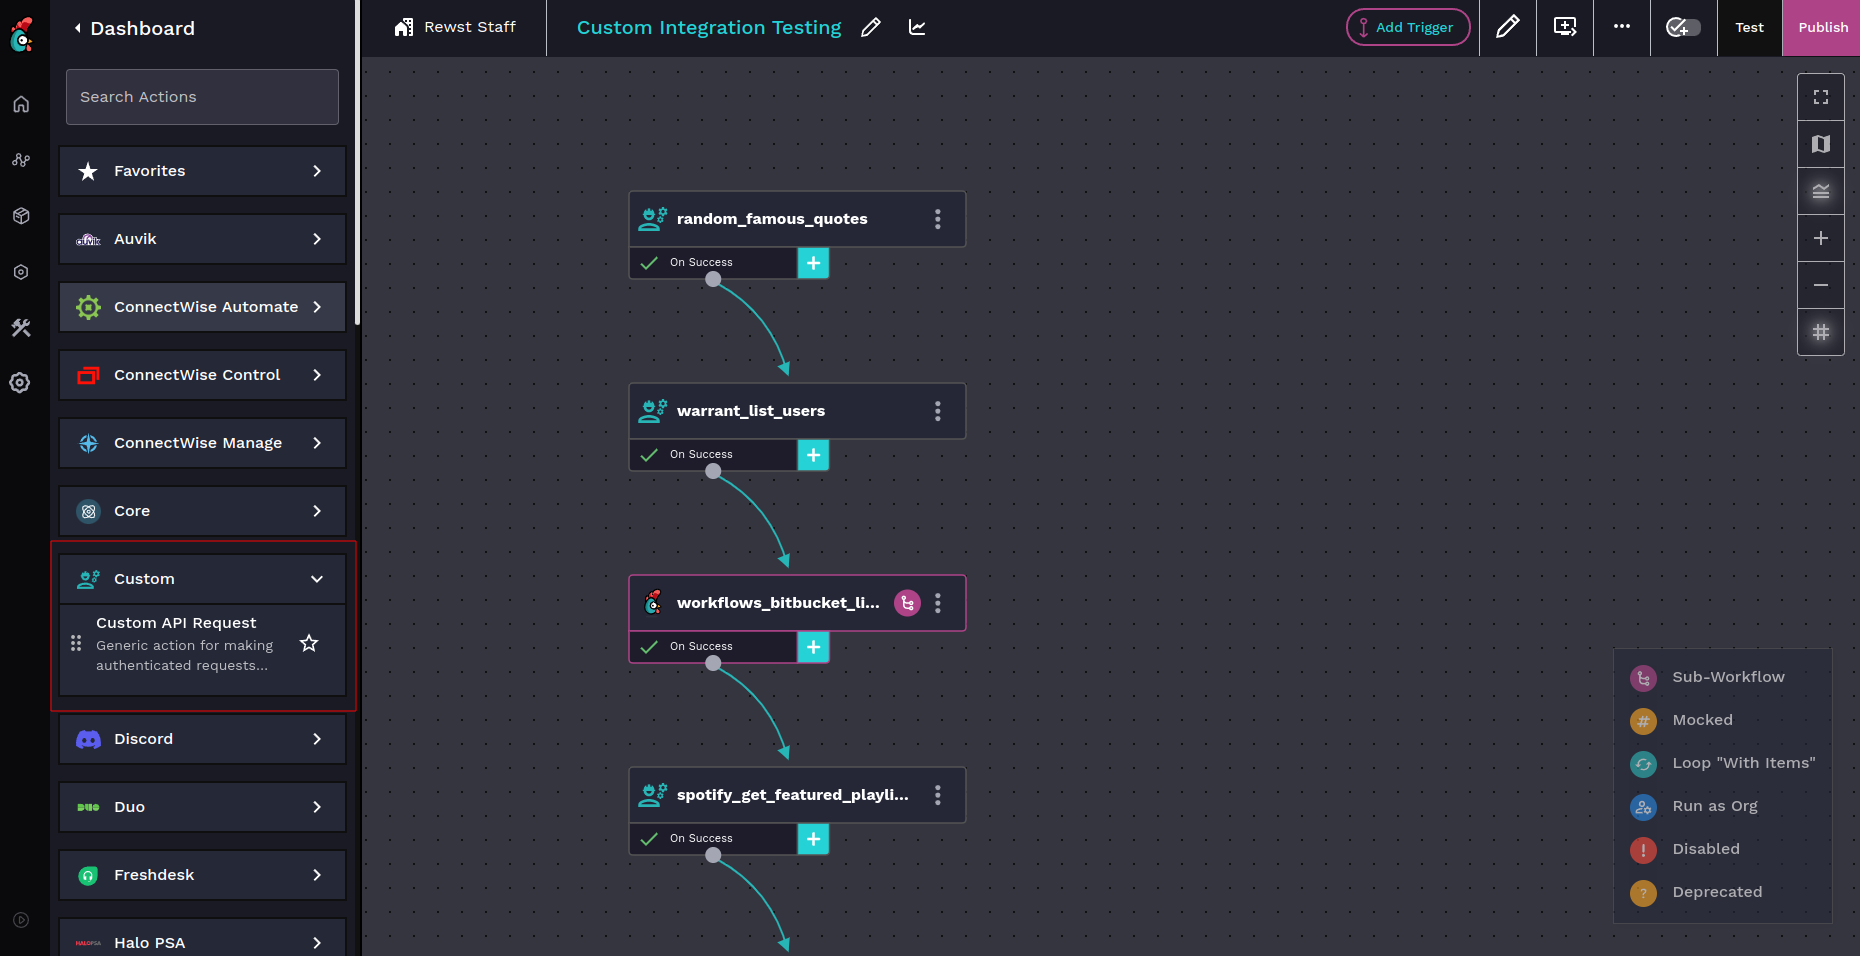
### Usage in Workflow Builder
Once your custom integration is set up, you can use it in your workflows and tasks using the `Custom API Request` action. You select which custom integration configuration to use for a workflow using `Integration Overrides`, which is covered in more detail in the Integration Multitenancy page at the top.